Theragun Attachments Guide: How & What To Use
By Linus T.
Updated Jun 2023

Whether you're craving a rubdown after a workout or the occasional self-care splurge at a spa, getting a good massage now and then does wonders for your body. Unfortunately, many of us don't have the time to take regular trips to the masseuse. With any massagers from the Theragun lineup, you can enjoy massages in spa-like environments from the comforts of your home.
Because the Theragun field is broad, it's important to be clear on how to use the massager and what type of attachments are there to get the relief you're after. That said, we did the homework to make things easier for you.
Getting Started With Theragun

Powering on your Theragun devices might seem like a minor thing but each of the massagers has a slightly different way of doing so. We outline how that's done below.
There are two ways to turn on the Theragun PRO and the Theragun Elite. Firstly, if you prefer the quick start, locate the power button found in the centre of the direction pad below the OLED screen and press it for two seconds. This powers the device and instantly starts with a preset speed of 2,400 percussions per minute. Next, if you prefer a desired operation setting, push the power button once before toggling through the treatment presets available.
To operate the Theragun Prime, push the power button located in the middle of the direction pad for two seconds. Then, push the direction pad upwards or downwards to set your preferred percussion setting.
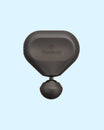
For the Theragun mini, press and hold down the power/speed button (located on the right side of the device) for two seconds and you're good to go.
Theragun Attachments: How To Change
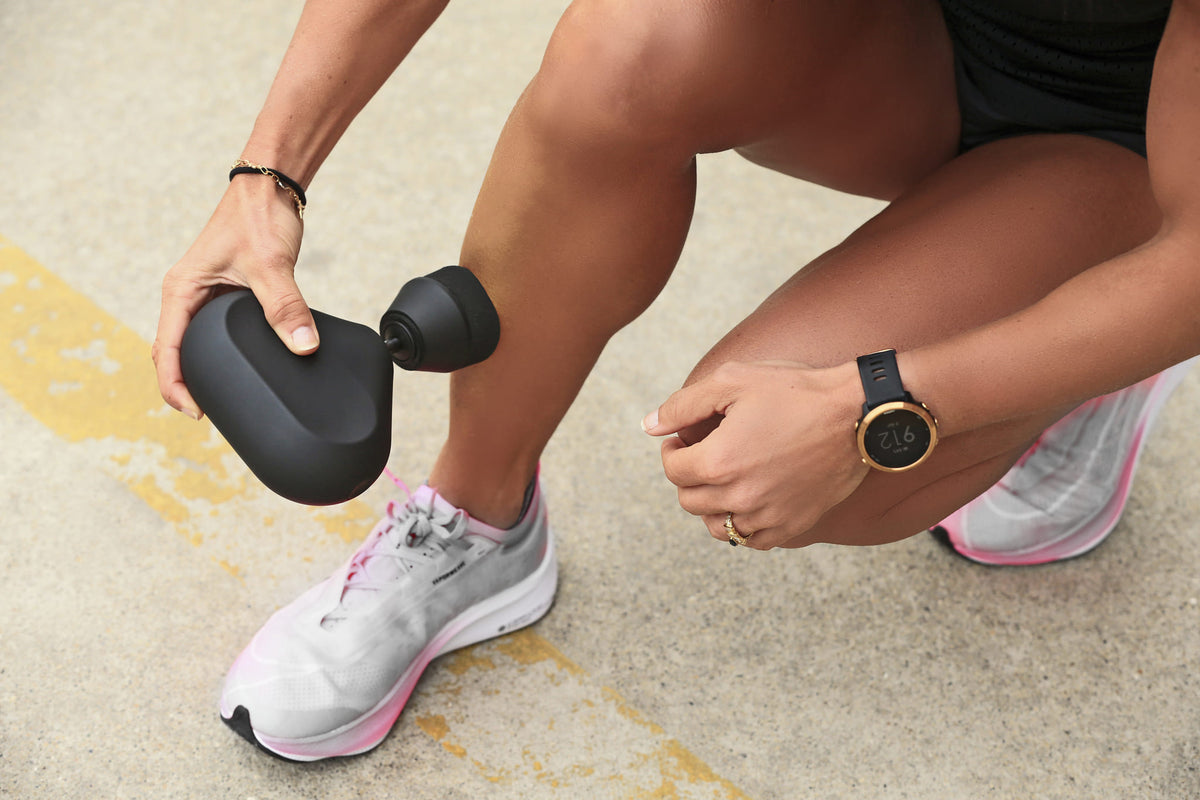
Be it relief from a specific problem area or a full body massage, Theragun is loved by many all over the world for its ease of use. To maximise the full potential of the percussive massage, here is a step-by-step guide to correctly swapping out your Theragun attachments.
Step 1: Hold the connected attachment and the Theragun handle firmly in each hand.
Step 2: Pull the two apart.
Step 3: Choose your desired attachment.
Step 4: Grab the attachment and firmly push it into place.
Step 5: The Theragun is ready to relieve sore muscles.
For a visual representation of the steps above, check out this Youtube clip.
Theragun Attachments: How & What To Use
Before we dive in, you'll be pleased to know that all the attachments are made of closed-cell PU foam, making them easy to clean for a more hygienic experience. Plus, you never have to worry about them absorbing sweat, lotions or oils. What's more, the 7 attachments are compatible with PRO, Elite, Prime, mini, G3PRO, and G3.
Here are the different array of attachment heads:
1. Standard Ball

What: featuring a small shape and medium impact level, the Standard Ball attachment is your go-to option for more a targeted use on both small and large muscle groups
Recommended for: quickly re-activating and flushing lactic acids from your muscles during your workouts


4. Wedge

What: the Wedge attachment has uniquely designed with a wedge-like edge and medium impact level to deliver firm treatment for use on shoulder blades and IT bands
Recommended for: shoulder blades, flushing and scrapping along with the IT band or the area outside of your leg from the hip and to the shinbone

6. Supersoft

What: the Supersoft attachment's open-cell foam tip and wide closed-cell foam base have been thoughtfully designed to provide a lighter touch but also effective therapy. Bonus is that the Supersoft attachment comes with three foam tip replacements if the current one wears down.
Recommended for: elbow, knees, joints, sore muscles and super sensitive areas of the body
7. Micro-Point

What: the Micro-Point is the all-new patented attachment from the Theragun series. It is covered in flexible spikes to provide increased stimulation throughout treatment. It's spike-y surface creates multiple pinpoint impression onto your muscle group for increased blood flow.
Recommended for: general use to maximise circulation
Final Thoughts
With several attachment options, the Theragun is adapted to get the custom treatment for specific areas of your body comfortably. Now that you're armed with all the information, you're all set for a better massaging experience without leaving your home.
If you like to read more about Theragun percussive therapy massage guns, check out our other relevant guides here:
Theragun PRO (5th Gen) vs Theragun PRO (4th Gen)
Theragun mini (2nd Gen) vs Theragun Prime
Theragun PRO (5th Gen) vs Hypervolt 2 PRO
Theragun mini (2nd Gen) vs Hypervolt Go 2
Explore the full collection of Theragun on Amazon.com or visit our Official Theragun Singapore Store.
Don't miss out on tech
Subscribe to our newsletter to stay up to date on the latest tech trends and guides on the best gadgets around.
Recommended reading
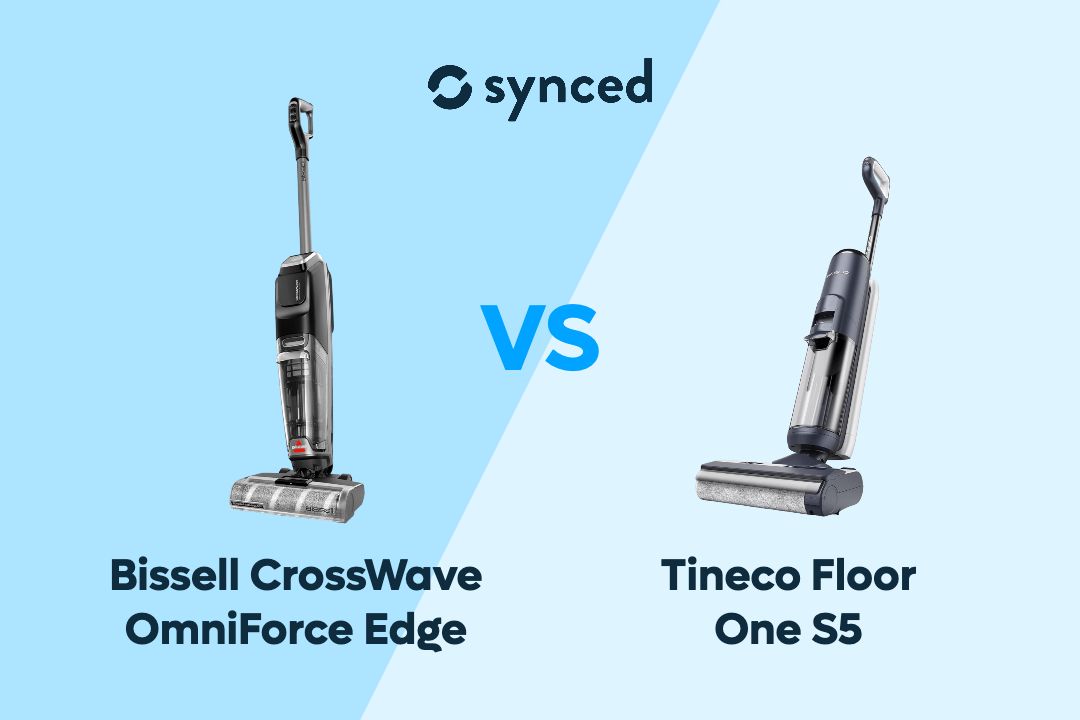
Bissell CrossWave OmniForce Edge vs Tineco Floor One S5: Go Smart or Go Versatile?